Making Paper Beads

unikatissima Doodled Paper Beads

After I’ve made my paper beads roller that I presented yesterday I played around with paper beads a little more.

I prefer the tube beads anyway (marginally ;-)) and after having seen the paper bead designer I thought: ‘Yes, a little bit of colour is enough, you can’t see the rest anyway.’

So I quickly made me some doodle paper beads ;-)

And that’s what you do:
 

unikatissima Doodled Paper Beads
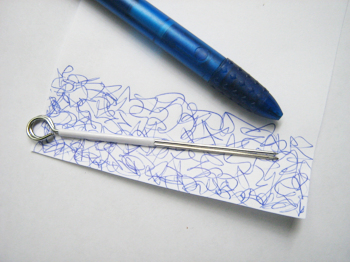
First I took two sheets of plain printer paper and simply doodled at one side with a blue ballpoint pen.
 

unikatissima Doodled Paper Beads
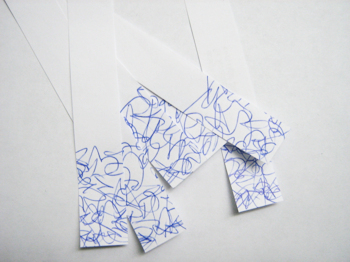
Then I cut the sheets in strips of the same width…
 

unikatissima Doodled Paper Beads
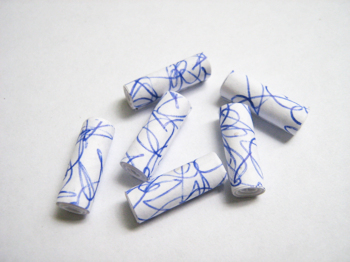
… and rolled my paper strips with my nifty paper bead roller in a wonderful short time.
 

unikatissima Doodled Paper Beads
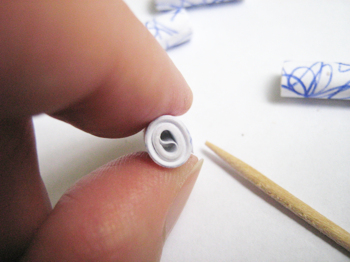
Of course the hole of the bead is split into two holes, too, because my bead roller consists of two halves.
 

unikatissima Doodled Paper Beads
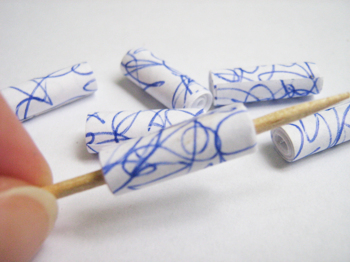
I ‘stirred’ the hole again with a toothpick so that only one big hole remained.
 

unikatissima Doodled Paper Beads
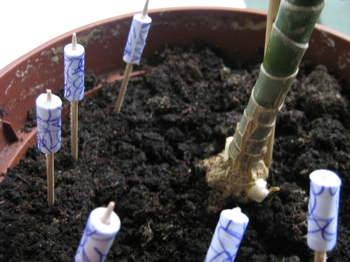
Somehow I didn’t want to use the glue excess as varnish for the beads, so I used a simple glue stick and covered the beads afterwards with medium gel. Here you can see them drying.
My potted palm got special leave on my balcony for it ;-)
 

unikatissima Doodled Paper Beads
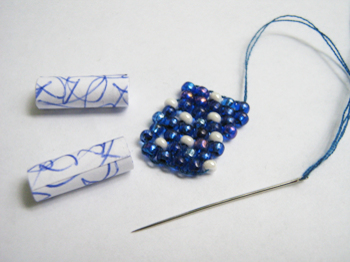
Although I find my doodled paper beads beautiful I thought that I would look boring if I string only them, therefore I made some additional easy Peyote beads.
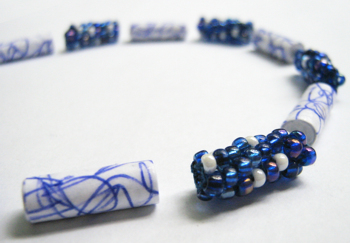
 

unikatissima Doodled Paper Beads
Looks good, doesn’t it? ;-)
I wasn’t sure yet what I would do with my beads on this photo.
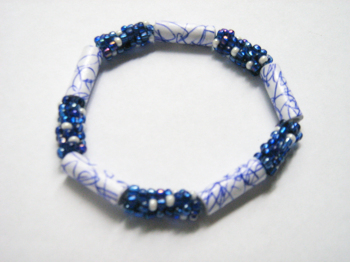
 

unikatissima Doodled Paper Beads
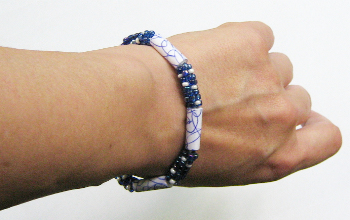
It became a bracelet in the end. I simply strung the beads on an elastic and hid the knot in a bead.


unikatissima Doodled Paper Beads
And here an ‘action shot’ ;-)
It’s not so easy to take a good photo of your own arm ;-))


After I had finished with my doodled paper beads I thought, that this was a great way to make a lot of matching paper beads from advertising flyers.
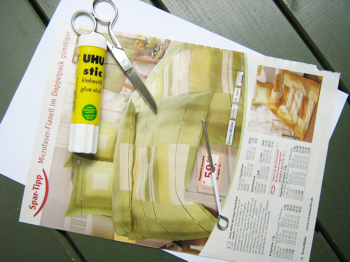
 

unikatissima Magazine Paper Beads
So I picked an ad with a photo of bed sheets where I liked the clour scheme.
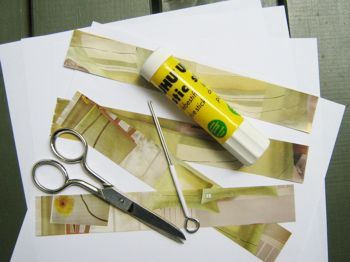
 

unikatissima Magazine Paper Beads
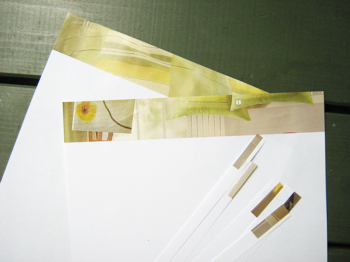
Then I measured the circumference of my doodled paper beads with a string and cut strips from the ad a little broader than necessary.
 

unikatissima Magazine Paper Beads
I glued the strips from the ad at one side of a plain printer paper sheet and cut the resulting papers in (in this case) 1 cm broad strips, because I wanted to have little beads.
 

unikatissima Magazine Paper Beads
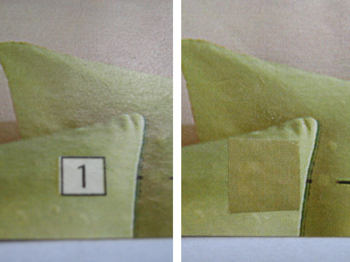
I glued some patches from the rest of my ad on details that I didn’t like, they won’t to be seen on the bead.
 

unikatissima Magazine Paper Beads
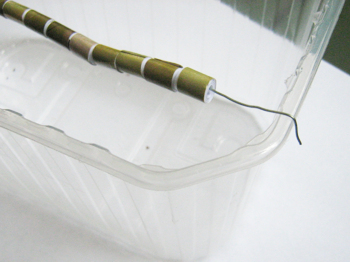
Here my beads are drying on a wire because I cut about 80 paper strips and I don’t have enough toothpicks or plants for the drying process ;-)
This time I used a water-based craft glue that glues fast but dries slowly.
This is great because I could varnish my beads easily with the excess of the glue which made them shine and when my fingers eventually got sticky I could wash the glue easily away with water.
 

unikatissima Magazine Paper Beads
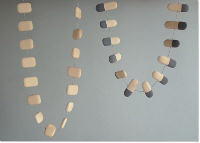
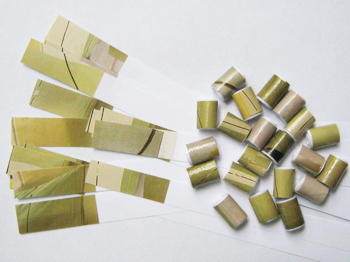
I have not yet finished, but I find my paper beads beautiful, a little bit like made from Jade.
We will see what they will become :)


Links:
Paper Bead Designer

Peyote Bead (Beaded Bead)

Here at unikatissima:
Paper Beads Roller
Entries containing the words ‘paper’ and ‘bead’
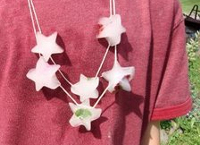
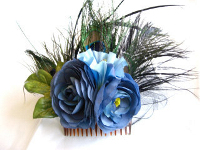
Luxurious Fascinator

Corvus tristis Luxurious Fascinator

It would have never occurred to me to make such fascinators by myself, but then: Why not? ;-))

My hair is very soft and thin, therefore my fascinator should be at the most half as luxurious, but I think I will see what I can do there :)


Links:
Luxurious Fascinator (Positively Fascinating)

via: Baby’s First Fascinator

Ladder Rings

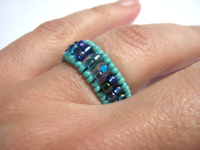
unikatissima Ladder Ring

I found the Ladder Rings where they added a link to the (free) instruction. But you have to register there and I don’t like this.
So I figured out how I would do it and that’s what I came up with (it may be that their instruction is completely different):


That’s what you do:
 

unikatissima Ladder Ring
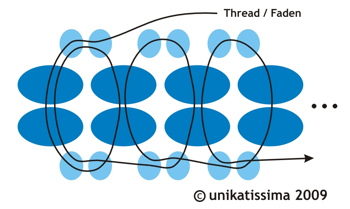
You need two sizes of beads which are to be linked as seen in the diagram.
If you’re ready it doesn’t look very good because there are really gaps between the little beads as in the diagram.


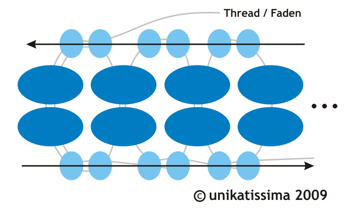
unikatissima Ladder Ring
That’s why you pull the thread once more through all little beads – the ring is finished.


unikatissima Ladder Ring Caution: The second step tightens the ring considerably.
I made my first ring much too narrow because I didn’t know that it gets smaller in the second step.
Unfortunately I can’t say how much.

At the second try I did it differently: I repeated the first step until I thought that it should be enough, then I pulled the thread through the little beads on one side and tried if the ring fits.
It didn’t, so I pulled out the thread from the little beads, repeated the first step two more times and then it was right.


Links:
Ladder Rings

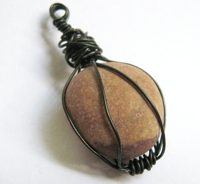
Wire Wrapped Pebble Pendant

unikatissima Wire Wrapped Pebble Pendant

I saw the instruction about how to make wire wrapped marble earrings and found it great.

But 1. I’d find real marbles too heavy in my ears and 2. I didn’t have any ;-)
So I took a pebble and wrapped it with the same technique with common anodised garden wire.
I think that it is suitable as jewelry only to a limited extent, because I think that the wire does not give a comfortable feeling on the skin. But on the other hand I can say that I can really recommend the instruction ;-))


Links:
Wire Wrapped Marble Earrings (Tutorial Wire wrap alla Kitica) – simply click the thumbnail

Here at unikatissima:
Entries concerning wire wrapping and/or marbles:
Wire Wrapped Ring – a wire ring
Wire Wrapped Hardware – a lot of stuff wrapped with wire
Bead Wrapping Technique – something similar to this
Fried Marbles – make marbles much more interesting
Glass Pebble Ring – a wire ring with an inserted glass pebble

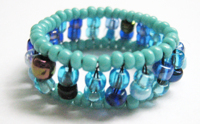
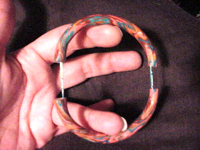
Elastic Polymer Clay Bracelet

craftster Elastic Polymer Clay Bracelet

I found at craftster a fantastic instruction: how to make cute teapots from bulbs and polymer clay, how to make great candle holders from bulbs and polymer clay, how to make a genie lamp from bulbs and polymer clay (although she doesn’t say how to get a genie into the lamp ;-)) and how to make an elastic polymer clay bracelet from the left overs (ok, somewhen I had to come to the point ;-)).
Sheer lunacy! :)


Links:
Elastic Polymer Clay Bracelet (Trash to Treasure fun with lightbulbs!) – the instruction for the bracelet begins with the words ‘Ok, time for dessert.’

Kumihimo Flower Hair Pin

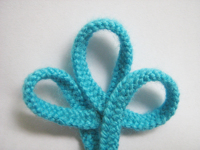
unikatissima Kumihimo Flower Hair Pin

I found a site with a cute Kumihimo flower hair pin that is made from a beautiful Japanese knot.

On the photo you can see my Kumihimo cord which I want to use to make such a Kumihimo flower but the cord isn’t finished, yet.
I think that I will embellish it later with some beads because the single-coloured cord will possibly look bland.


Links:
Kumihimo Flower Hair Pin
The instruction for it has two parts:
Knot tutorial part 1
Knot tutorial part 2

Here at unikatissima:
Entries with the tag ‘kumihimo’
The Treasure Knot

French Flower Beading

craftster French Beaded Flower Jewelry

Recently I’ve seen these fantastic beaded flowers at craftster.
Usually I’m not one for beaded flowers but I find these so beautiful.
The thread is no tutorial and it seems that she hasn’t written one yet (I’d say that she don’t want to) but somewhere in the comments they mention a basic tutorial for French flower beading that I found great at first sight.

Perhaps soon;-)


Links:
At craftster:
French Flower Beading
Other threads of the same author, some of them show French flower beading, too

French Flower Beading – Basic Technique