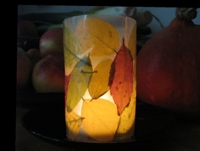
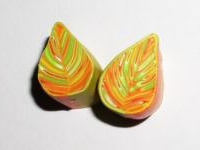
Recently I had a nice idea, inspired by the nature bracelet and the clip art candles or faux quilt votives, resp.: a quick autum votive.
It became more beautiful than I expected ;-))
That’s what you do:
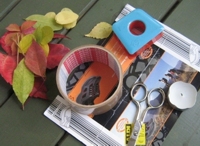
You need:
- a tealight
- some cardboard
- broad transparent tape
- colourful leaves
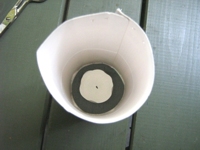 Tape the cardboard to a cylinder that has to be wider than the tealight but not especially beautiful.
Important note: my Votive was too narrow with this circumference and became warm very fast. I suggest strongly to make the cylinder wider!
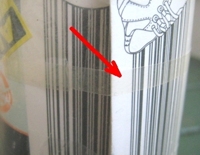 Put the transparent tape around the cardboard cylinder with the sticky side outside(!).
My tape is about 5 cm broad therefore I put two on top of each other. The arrow shows where they overlap.
 Now simply tape on colurful leaves. They may even overlap.
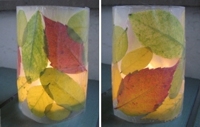 When you’ve finished you can decide whether you want to wrap everything with another layer of tape – this time sticky side inside ;-), then you simply pull your votive from the cardboard cylinder and put a tealight inside.
Another important note: The votive is very light and can therefore easily be blown into the flame.
When I will make this again, I think that I will put small tape stripes crosswise from side to side and weigh down everything with sand or a little plate.
Or I will work it directly around a glass, I think that’s smarter, because nothing can be blown away then ;-)
So don’t forget: Never leave burning candles unattended!
By the way, the leaves become brown as fast as ‘untreated’, but it is a beautiful decoration for an autumn table anyway.
Addendum: In the comments of the German entry Menoora writes, that leaves apparently keep their colours when gently ironed.
It’s worth a try, isn’t? ;-)
You can make it even more beautiful by taping a layer of packing tape transfers with interesting texts or comic pictures over the leaves :)
How about e.g. with a beautiful layed autumn table and the votives in place of name cards? The names could be designed in the style of the beautiful labels.
Anyway: Have much fun with this!
Links:
Here at unikatissima:
Nature Bracelets
Clip Art Candles
Faux Quilt Votives
Packing Tape Transfers
Beautiful Labels for the Kitchen
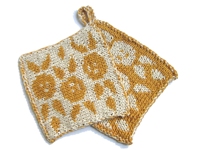
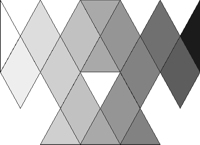
 The potholders have – as double knitted items always have – the pattern on one side …
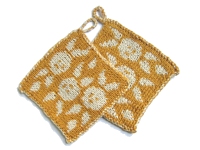
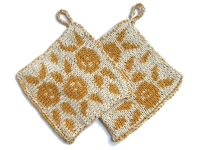 … and the inverted pattern on the other.

