Making Beads

bricadonna Making Beads

I presented already how I’m making paper beads, somebody shows here most beautiful other (also paper) beads, the ones on the picture are made from woodchip wallpaper.
Aren’t they beautiful?


Links:
Making Beads (“Erst die Arbeit- dann das Vergnügen” ?) (German)
Google’s automatic translation (not very good, but one can understand what is meant)

Here at unikatissima:
Making Paper Beads
Entries containing the word ‘paper bead’

Paper Leaves Wreath

the red thread Paper Leaves Wreath

I don’t really like door wreaths, but even though I won’t make it and hang it on my door I find the paper leaves wreath somehow beautiful :)
It was made originally for Christmas, but I think that it could as well be a spring or summer wreath with green paper or an autumn wreath with paper in brown, red and yellow.
And with papers like those for the place mat it looks presumably great the whole year long :))


Links:
Paper Leaves Wreath (Paper Christmas Wreath Tutorial)
via: the red thread: Paper Christmas Wreath Tutorial

Here at unikatissima: Fabric/Paper Place Mat

Fabric/Paper Place Mat

alisaburke Fabric Paper Place Mat

When I saw these place mats I was compleeetly thrilled: that’s exactly what I love so much!
She seems to use as well fabric as paper – many of these self coloured.
And I do love to work with paper, e.g. at my paper shopping bag or my paper Crazy Quilt ;-)


Links:
Fabric/Paper Place Mat (Fall Fiber Place Mat Tutorial)

Here at unikatissima:
Paper Shopping Bag
Paper Crazy Quilt

Rolling Pin Prints II

Louise Schiele Rolling Pin Prints

I wrote already an entry about rolling pin prints, even so I find this instruction interesting, too.
As she says: you can use it easily to design your own gift wrap and it won’t take long until you possibly need some gift wrap ;-))


Links:
Rolling Pin Prints (Fabric Background Rollers – More Play Time)
More Rolling Pin Prints (More Rollers, More New Prints)

Here at unikatissima:
Rolling Pin Prints

Whitewash Paper

ScrapFriends Whitewash Paper

‘Whitewash paper’ sounds strange, but that’s exactly what she does in her tutorial with the decorative paper: she tints stripes of the decorative paper so that the original pattern shows through.
I find it very elegant.

I think that should be possible with gesso, too (as are so many other things: Wow!) – but I still have to try it out.

If you have experience with this I’d be pleased if you post it in a comment (by the way I’d always be pleased if you comment ;-))


Links:
Alter Your Paper with Krylon’s Whitewash Paper Finish

GPP Street Team: CRUSADE No. 25 ~ Properties of Gesso

Flower Flap Box

unikatissima Flower Flap Box

I saw somewhere (unfortunately I don’t remember where) such a box, but it was flat while I wanted the actual box (not the flaps) to be of about 2 cm height.
So I made me a template myself ;-))


And that’s what you do:
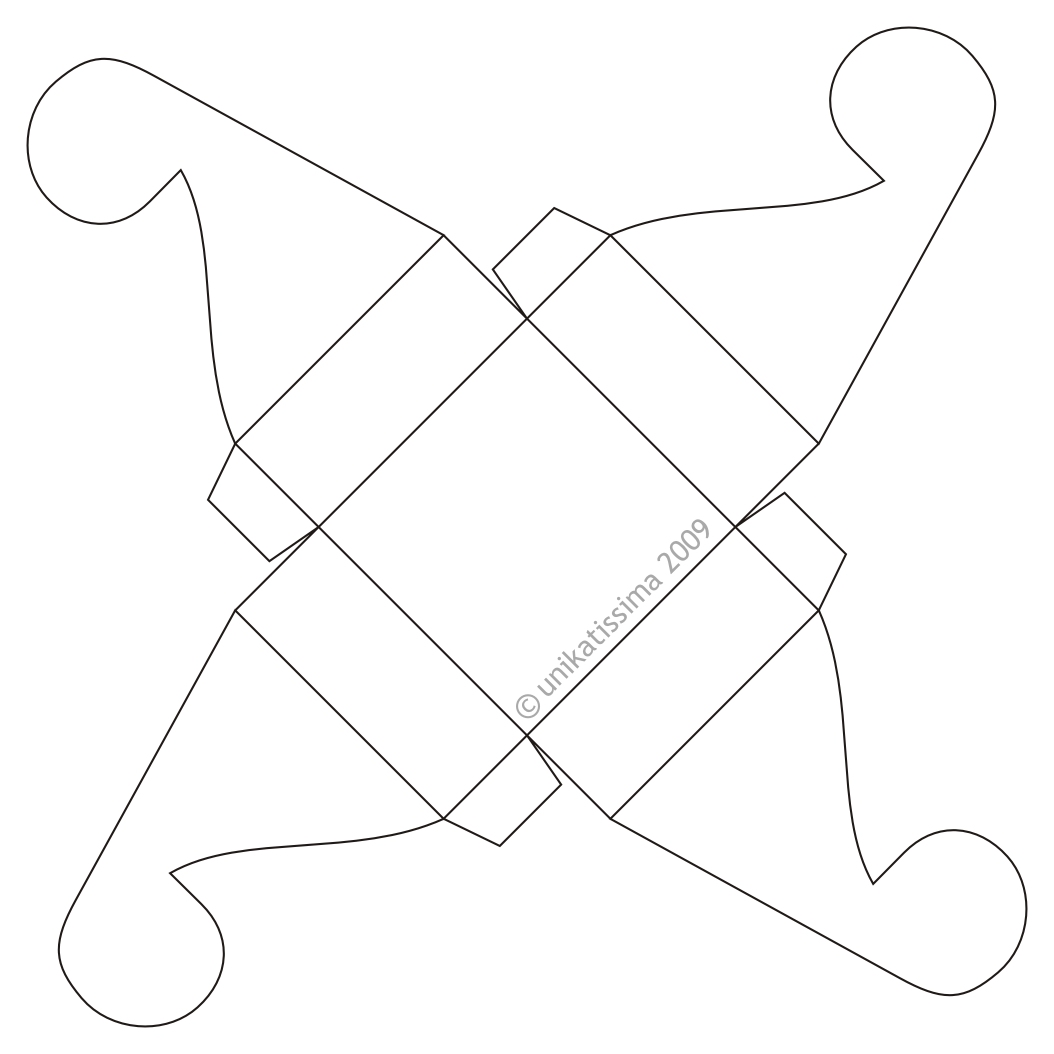
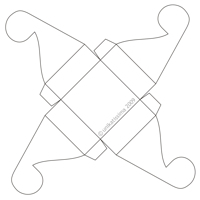
unikatissima Flower Flap Box Template (Click to enlarge)
That is the template.


Instruction for first box: Pasted paper


unikatissima Flower Flap Box
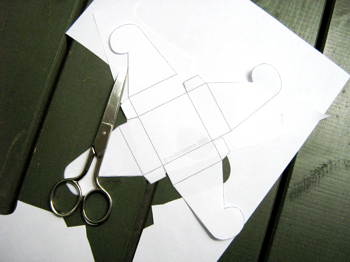
First print the template and cut it.


unikatissima Flower Flap Box
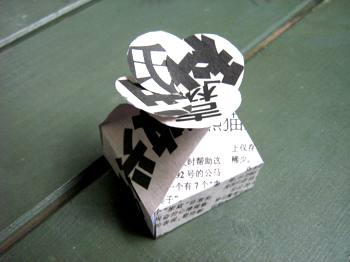
I wanted to have a Chinese box so I pasted the outside up with some Chinese newspapers that I stained with tea before (see links below).
Of course you can paste the paper up with gift wrapping, snippets from ads and so on, too.
I suggest to paste a second layer on the paper in any case to get it sturdier or to use thin cardboard.


unikatissima Flower Flap Box
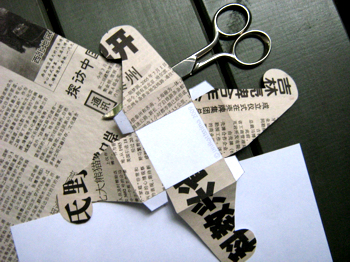
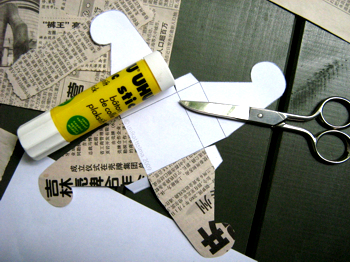
When having pasted up all four flaps you can pre-fold the box. This way it will be easier to glue the tags.


unikatissima Flower Flap Box
Here is the glue setting.
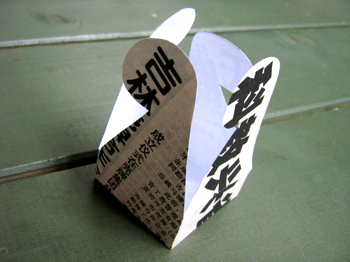
You can see that I didn’t paste up the inside.


unikatissima Flower Flap Box
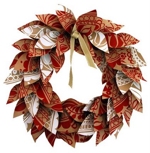
And that is the box in its full beauty ;-)
I suggest to let the glue set well because there will be some strain when you close the box and the tags can get unfixed.

Instruction for second box: Thin cardboard


unikatissima Flower Flap Box
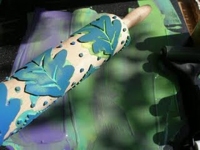
After the first box I felt like making a box from thin cardboard.
The cardboard is from the wrapping of a pair of trousers I bought and I liked the colours of the printed picture.
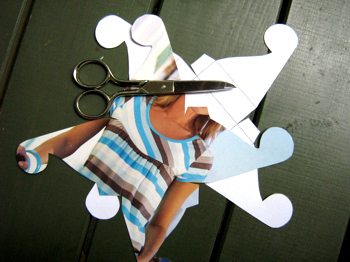
So I put my printed and cut template on the cardboard, copied it and cut the cardboard along the lines.


unikatissima Flower Flap Box
I pre-folded the folding lines to get better folds.


unikatissima Flower Flap Box
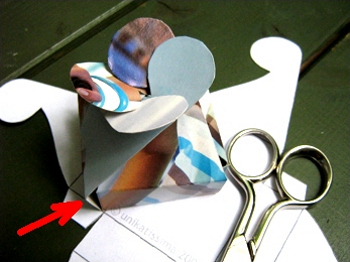
Then I simply folded the box without glueing the tags.
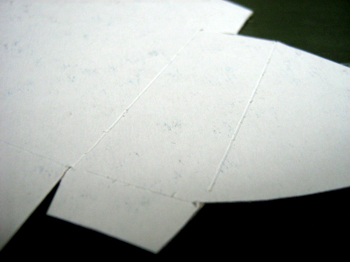
The red arrow shows that there originates a gap.
Depending on what you want you can leave the box at that, the tags make sure that in spite of the gaps nothing will drop ;-)


unikatissima Flower Flap Box
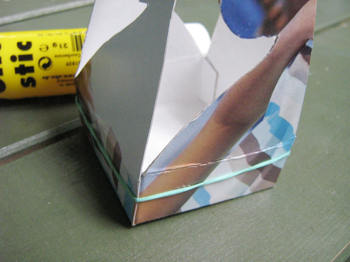
Here I glue the tags to see what happens.
The box always got apart until I fastened it with an elastic.
The glue could set this way better.


unikatissima Flower Flap Box
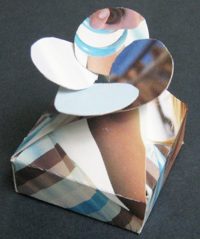
And that is my second little box.
You can see at the edges that it is a properly closed box now ;-)


Links:
Here on this site:
Instruction for first box: Pasted paper
Instruction for second box: Thin cardboard
Template to print

Stain paper with tea
Tea Staining Your Art Journal Pages
Tea Stain Paper

Paper Flower

unikatissima Paper Flower

I found an instruction for a nice paper flower and thought that this should work with self-coloured paper, too.
It did ;-)


unikatissima Paper Flower 
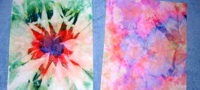
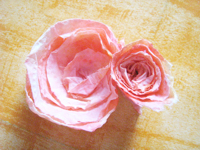
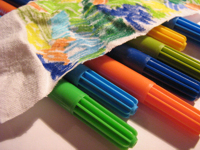
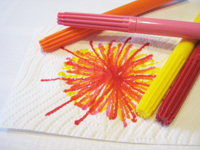
First I painted on a sheet of toilet paper with some markers.


unikatissima Paper Flower 
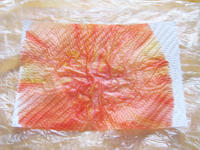
I dropped water on my ‘painting’, but it was a little too much water and everything swam.
In order not to get everything dirty I have put it luckily on an old little plastic bag.


unikatissima Paper Flower 
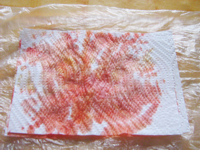
Therefore I put another sheet of toilet paper onto the first, the water and the dye dispersed on both.
I blow-dried everything to dry it faster ;-)


unikatissima Paper Flower 
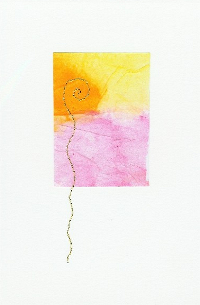
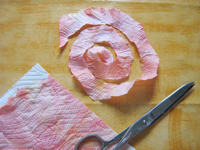
I cut my papers by guess and by gosh, that is to say without a pre-sketched spiral and my scissors were quite blunt.


unikatissima Paper Flower That may be the reason why my little ‘roses’ look so beautiful ;-)


Links:
Paper Flower – the tutorial works backwards, you must always click the previous picture to get the next step

Self Coloured Tissue Papers

unikatissima Self Coloured Tissue Papers

Accidentally I found a way of making beautiful coloured background papers from tissue paper or paper napkins and markers.


That’s what you have to do:
unikatissima Self Coloured Tissue Papers 
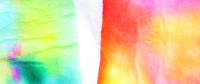
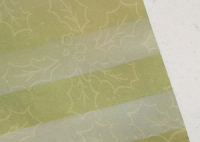
First I cut the tissue paper in pieces of about 6×6 cm (roughly 2,5×2,5 inches).
I painted them (through all layers) with colour matching markers.
It doesn’t matter if there are little white areas.


unikatissima Self Coloured Tissue Papers 
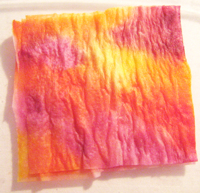
I layed the coloured pieces out on plastic foil (e.g. an unused garbage bag) and moisted them with water.
The water makes the colours bleed wonderfully.
It is best to add the water dropwise, this way you can determine best how much water you add (if it gets too wet, the colours bleeds too much and doesn’t stay on the tissue paper).


unikatissima Self Coloured Tissue Papers 
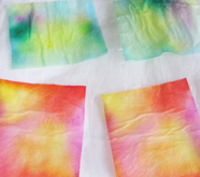
In the end I let dry the coloured squares.
When using them for cardmaking, I mostly only use two or three layers, not all of them.
But you have to try this by yourself.


Here I show two hand embroidered postcard sized wallhangings (just like the Paper Crazy Quilt) I worked with self coloured tissue papers. Both tissue papers are layers of the same paper (you can see that they have the same pattern), but the different coloured background papers make them glow differently.
unikatissima Card unikatissima Card


unikatissima Self Coloured Fabric 
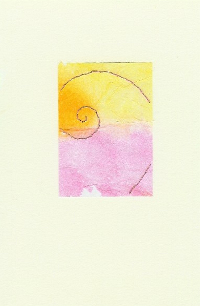
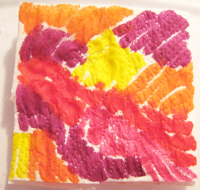
Once I used the same technique on fabric (an old (clean! ;-)) bedsheet) and it worked.
The next time I added too much water and suddenly everything was of the same dull colour. ;-)
I think that this colour can be heat set just as the acryl coloured or the crayon tinted fabric, but I haven’t tried it yet.


Links:
Here at unikatissima:
Paper Crazy Quilt

Acryl Coloured Fabric
Crayon Tinted Fabric