I proudly present my first self designed
Square ‘n’ Fair – Lacy Crochet Square Margarethe (PDF ~705 KB)!
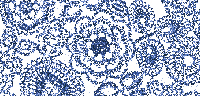
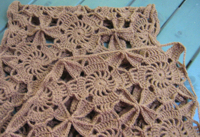
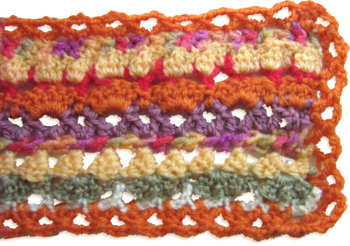
It is a PDF-File that contains the diagram for the crochet square Margarethe that I designed (it is my first! ;-)).
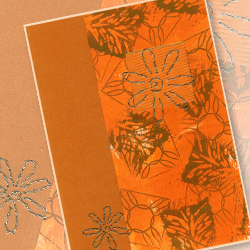
On the photo you see a big scarf I made with this pattern (but I haven’t blocked it yet – it will look much more beautiful then ;-))
I also included several matching diagrams in the PDF-file to this square (‘elements’): a rectangular half square, a triangular half square, a ‘squeezed square’ and two patterns for matching ‘ribbons’.
Additionally I have inserted several ideas on how to combine the different elements and project ideas about what to do with the elements.
Because different terms are used for the same stitches in British and American English, you can find photo and text descriptions of the used stitches in order to easily identify them (not meant as a tutorial).
Best try it yourself:
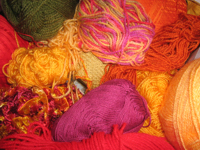
Use different materials, as e.g. thick wool yarns, middle acryl yarns ;-), fine cotton yarns, embroidery floss, raffia, package string, gift ribbon/gift curling ribbon, yarn made from plastic bags…
Make different items, as e.g. sweaters, vests, tops, cardigans, scarves, shawls, headbands, hats, mittens, wristwarmers, skirts, purses, wallets, totes, scrunchies, collars, appliqués, insertions, book or journal covers, tablecloths, place mats, glass coasters, pillows, window or door decorations, bedthrows, ornaments for greeting cards …
If you want to make clothing, check again crochet patterns for/from square medaillons (you won’t need the medaillon patterns this time, but only the women clothing models ;-)) and the basic woman measurement charts for clothing patterns at the website of Jessica Tromp.
Links:
Square ‘n’ Fair – Lacy Crochet Square Margarethe (PDF ~705 KB)
Jessica Tromp:
Crochet patterns for/from square medaillons
Basic woman measurement charts for clothing patterns
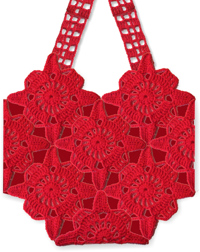
At craftster: Curling Ribbon+Crochet Hook=Many Purses
At Marlo’s Crochet Corner: Cutting the plastic bag ‘yarn’
At Craft Chi: Doily Racerback
Here at unikatissima:
Plastic Bag Tote
Clothes From Crocheted Medaillons


 Cut three threads à 180 cm (ca. 2 yards).
 Braid a piece of appr. 3 cm (ca. 1,2 inches) on the half of the threads and lay as loop.
 Select a thread and coil around the other five.
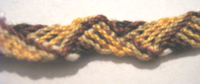
 This is how the coil could look like after having finished it.
 You can create another beautiful pattern by coiling two different coloured threads around the remaining threads.
 Additionally you can lay two more threads of the same colour apart and after coiling you can lay them crosswise around the coil.
 This is how the double coil and the cross pattern could look like.
 Once I made a simple braid (at the end).
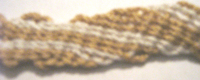
 At another part I didn’t do anything at all but simply let lie the six threads near each other.
 Furthermore you can divide the threads and make two coils side by side in place of one coil (here in red and grey).
 This is the friendship bracelet I coiled for the tutorial
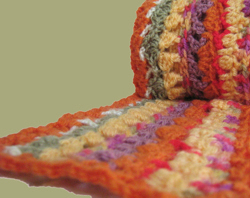
 I found the result so stunning that I made a birthday gift for a good friend from it ;-)