Well, this little‘beads packet’ is a cute pendant, isn’t it?
Links:
Beaded Gift Box
via: Make Beaded Valentine’s day gift – Free tutorials found!
…compilation of tutorials
Well, this little‘beads packet’ is a cute pendant, isn’t it?
Links:
Beaded Gift Box
via: Make Beaded Valentine’s day gift – Free tutorials found!
Do you need a gift wrap in a short time, which should be individual nevertheless?
The instruction shows how to do it.
I like the wrappings very much ;-)
Links:
How-Tuesday: Kraft Paper Rubbings From The Art of Gift Wrapping
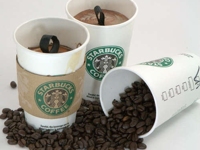
Somebody had the great idea to use coffee cups as fancy packaging for little somethings.
Nice, isn’t it?
If you have more coffee cups than people to present with something simply try the coffee cup sphere lamp ;-)
Links:
Coffee Cup Packaging
Here at unikatissima: Coffee Cup Sphere Lamp

I found a tutorial for very nice favour bags which are seemingly very easily to make from common printer paper.
Perhaps I will use them for my next birthday (because I won’t marry in the near future ;-)).
Links:
Paper wedding favour bags with tags and beads. TUTORIAL

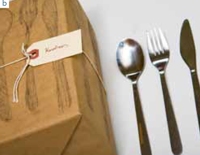
Such a chocolate covered spoon would be great for St. Nicholas boots (the day after tomorrow!), wouldn’t it? ;-)
And if not you can make them with chocolade rests from Christmas, later (yes, there are families where chocolade rests remain ;-)).
Links:
Chocolate Covered Spoons)
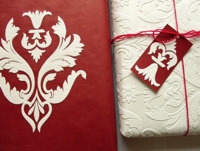
I mean to say that the photo convinced me that wallpaper as gift wrap is eminently suited!
And if you went in cardmaking a little bit, too, you surely still have same wallpaper rests laying around ;-)
Links:
Wallpaper Gift Wrap (bugs and fishes by lupin: Gift Wrap Ideas #7: Wallpaper)

I presented some boxes already, the one of today is folded from old greeting cards.
On the photo you can see it folded from a calendar or magazin sheet as a gift wrapping for my hyperbolic pin.
I find both (gift and box) still great! :)
Links:
Little Boxes for Precious Presents
Here at unikatissima:
 Entries with the tag ‘box’
Hyperbolic Pin (TED Talk: Nature, Crochet and Geometry)

If you have necklaces you can always do with something to hang them up, as e.g. the mini dress-form jewelry stand.
That’s something you can use the wonderful bust for.
But it is also something very special if you want to sell jewelry.
Incidentally I think that you can craft it a little smaller if you need a gift wrap or sales wrapping for your necklace.
If the bust is made as greeting card the necklace can directly be send with it!?
If you make such a bust I’d really appreciate a comment with a link (as I’m glad about every comment ;-))
Links:
How to Make a Necklace Bust
Here at unikatissima:
Mini Dress-Form Jewelry Stand
The gift tags on the photo aren’t ready yet: I simply can’t decide with which yarn I should wrap them.
But I find the idea really great: flatten the cardboard tube, cut it in strips and wrap the pieces with yarn.
I think that it could look beautiful, too, when wrapped in a piece of beautiful polymer clay and worn as necklace, earring or pin.
Hm.
When reading the instructions for the gift tags I had to think somehow at the surprise ball gifts ;-)
But she had other ideas, too, about what to make with these paper shapes, namely a cute tealight and an interesting lamp decoration.
I presented before entries about recycled cardboard tubes here in this blog, namely the beaded amulet bag, the plaster photo holder and the knitting loom from a plastic bottle.
But there the cardboard tube was ‘only’ a tool.
Links:
recycling project no. 19 – yarn gift tag
recycle project no. 12 – tealight decoration
recycle project no. 16 – hurricane cover
Here at unikatissima:
Surprise Ball Gifts
Beaded Amulet Bag
Plaster Photo Holder
Knitting Loom from Plastic Bottle
I saw somewhere (unfortunately I don’t remember where) such a box, but it was flat while I wanted the actual box (not the flaps) to be of about 2 cm height.
So I made me a template myself ;-))
And that’s what you do:
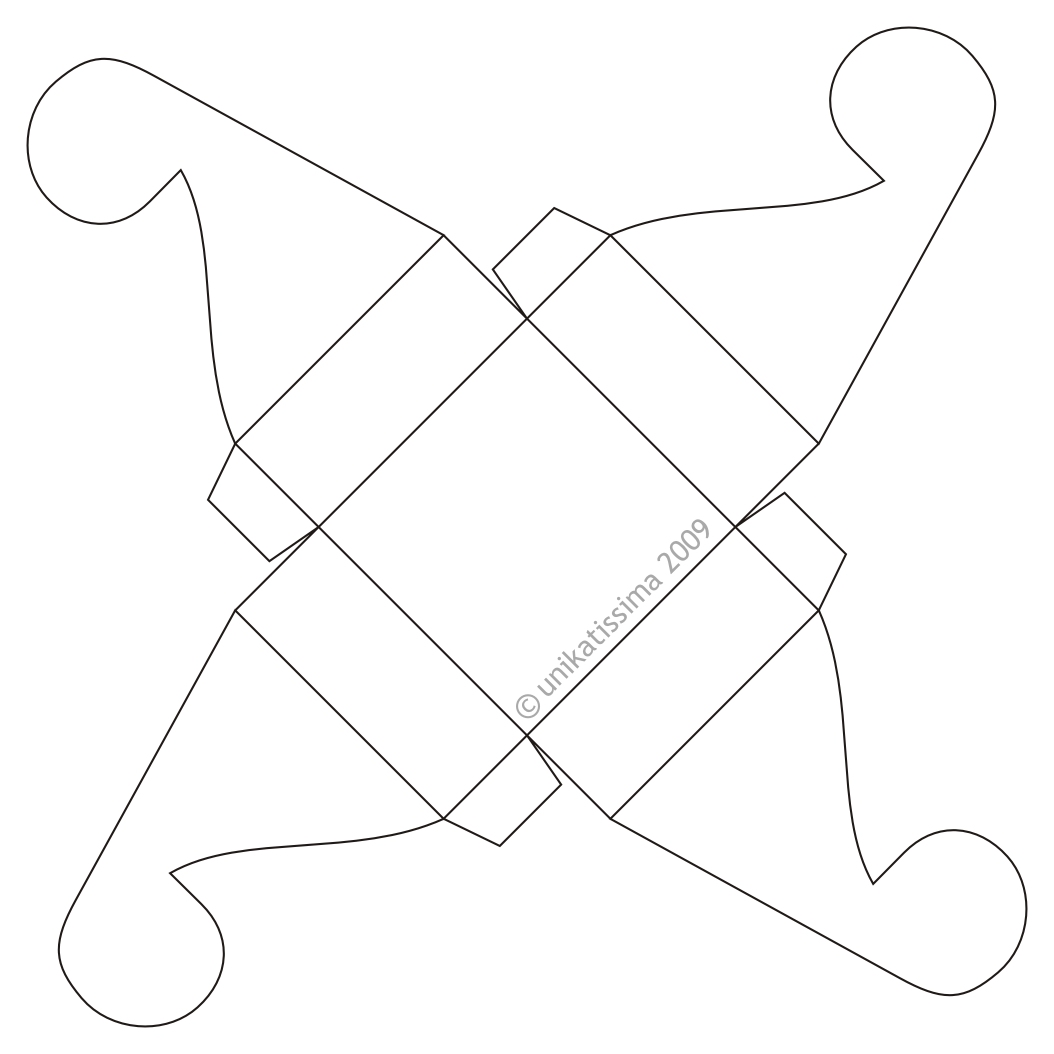 (Click to enlarge)
That is the template.
Instruction for first box: Pasted paper
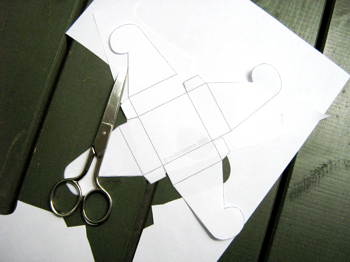
First print the template and cut it.
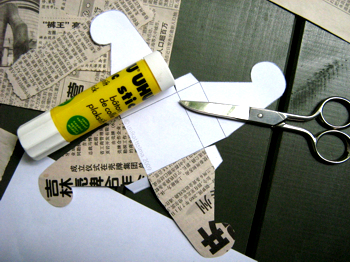
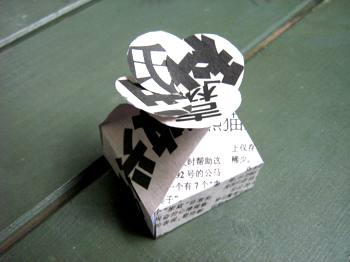
I wanted to have a Chinese box so I pasted the outside up with some Chinese newspapers that I stained with tea before (see links below).
Of course you can paste the paper up with gift wrapping, snippets from ads and so on, too.
I suggest to paste a second layer on the paper in any case to get it sturdier or to use thin cardboard.
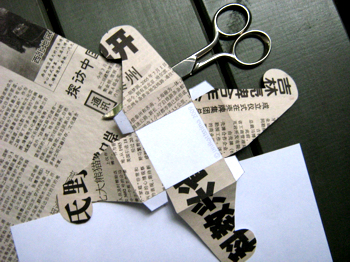
When having pasted up all four flaps you can pre-fold the box. This way it will be easier to glue the tags.
Here is the glue setting.
You can see that I didn’t paste up the inside.
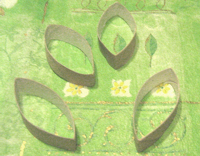
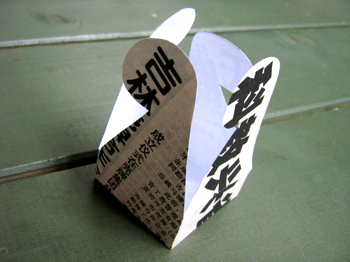
And that is the box in its full beauty ;-)
I suggest to let the glue set well because there will be some strain when you close the box and the tags can get unfixed.
Instruction for second box: Thin cardboard
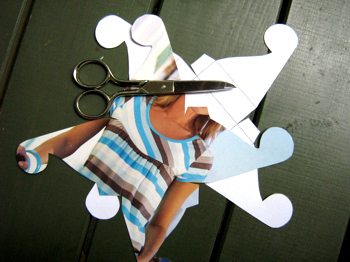
After the first box I felt like making a box from thin cardboard.
The cardboard is from the wrapping of a pair of trousers I bought and I liked the colours of the printed picture.
So I put my printed and cut template on the cardboard, copied it and cut the cardboard along the lines.
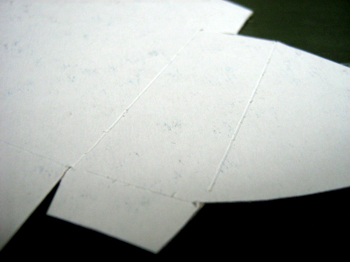
I pre-folded the folding lines to get better folds.
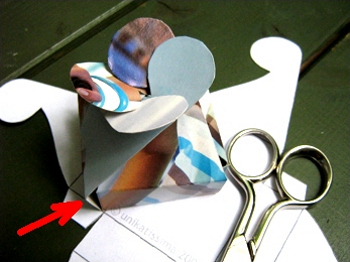
Then I simply folded the box without glueing the tags.
The red arrow shows that there originates a gap.
Depending on what you want you can leave the box at that, the tags make sure that in spite of the gaps nothing will drop ;-)
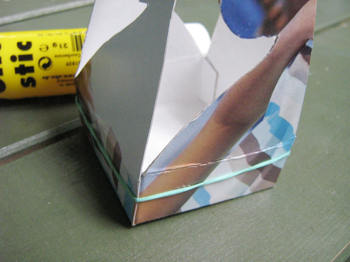
Here I glue the tags to see what happens.
The box always got apart until I fastened it with an elastic.
The glue could set this way better.
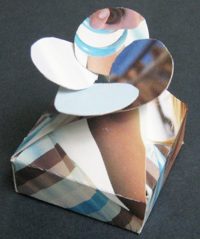
And that is my second little box.
You can see at the edges that it is a properly closed box now ;-)
Links:
Here on this site:
Instruction for first box: Pasted paper
Instruction for second box: Thin cardboard
Template to print
Stain paper with tea
Tea Staining Your Art Journal Pages
Tea Stain Paper