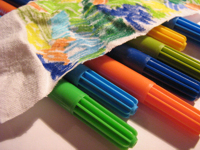
Accidentally I found a way of making beautiful coloured background papers from tissue paper or paper napkins and markers.
That’s what you have to do:
 First I cut the tissue paper in pieces of about 6×6 cm (roughly 2,5×2,5 inches).
I painted them (through all layers) with colour matching markers.
It doesn’t matter if there are little white areas.
 I layed the coloured pieces out on plastic foil (e.g. an unused garbage bag) and moisted them with water.
The water makes the colours bleed wonderfully.
It is best to add the water dropwise, this way you can determine best how much water you add (if it gets too wet, the colours bleeds too much and doesn’t stay on the tissue paper).
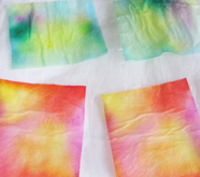 In the end I let dry the coloured squares.
When using them for cardmaking, I mostly only use two or three layers, not all of them.
But you have to try this by yourself.
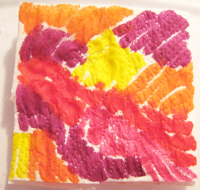
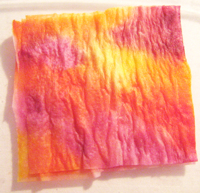
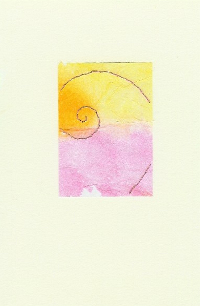
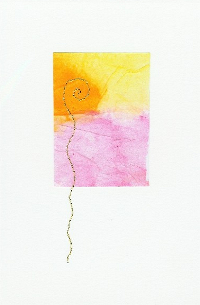
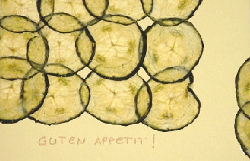
Here I show two hand embroidered postcard sized wallhangings (just like the Paper Crazy Quilt) I worked with self coloured tissue papers. Both tissue papers are layers of the same paper (you can see that they have the same pattern), but the different coloured background papers make them glow differently.
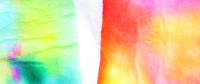
 Once I used the same technique on fabric (an old (clean! ;-)) bedsheet) and it worked.
The next time I added too much water and suddenly everything was of the same dull colour. ;-)
I think that this colour can be heat set just as the acryl coloured or the crayon tinted fabric, but I haven’t tried it yet.
Links:
Here at unikatissima:
Paper Crazy Quilt

 You take a Crazy Daisy (instructions see
  In this case I made and attached a simple, single-coloured
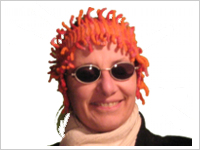 This is the headband.
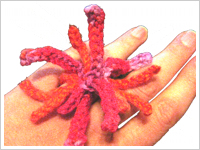 My Actinia ring – cute, isn’t it?
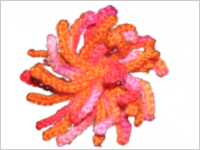 That is the brooch. It looks great on my black overcoat.
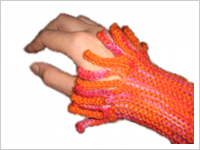
 The Actinia wristwarmers and ring can easily be worn over woollen gloves if it’s really cold.
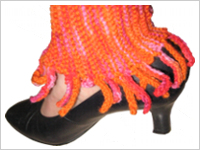 I haven’t done the Actinia anklewarmer yet, I made the picture with my not yet sewn wristwarmer.
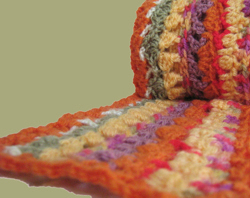
 I found the result so stunning that I made a birthday gift for a good friend from it ;-)
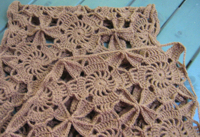
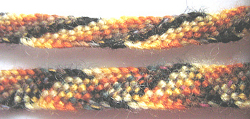
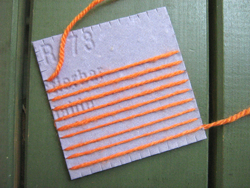 I would never actually buy a loom, therefore I made me one from – guess… – yes: cardboard! ;-)
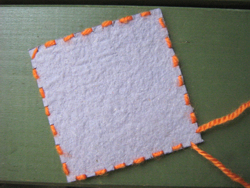 That’s the way my cardboard loom looks at the back side.
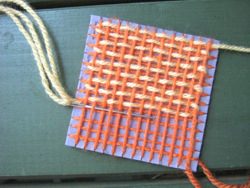 Now I’m weaving in one direction.
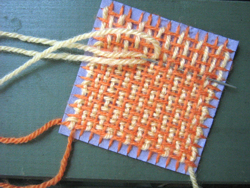 And here I’m weaving in the other direction.
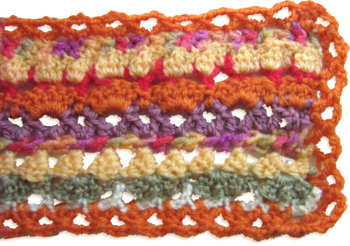
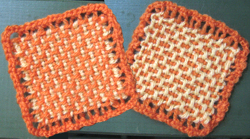
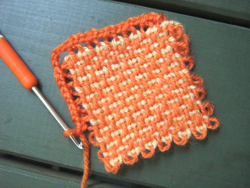 After having finished with weaving I crochet an edging to neaten the edge.
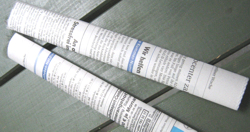
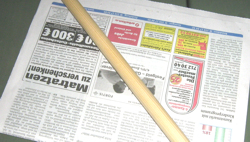 You need your sheet of paper and a dowel.
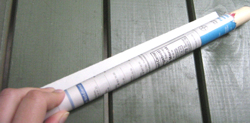 Roll your sheet of paper on the dowel.
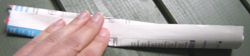 Pull the dowel out of the roll and flatten the paper roll.
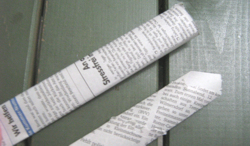 This way you get paper strips which are of the same width over the whole length.
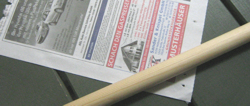 Roll your sheet of paper diagonally on the dowel.
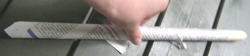 The paper roll gets longer, but the ends are thinner than the center.