Addendum: This entry is a little longish, if you only want to get the formula, check out the entry ‘Online Cone Calculator’.
Many crafters reach somewhen a point when they need a template for a truncated cone, be it to make cone-shaped lamp shades from patterned vellum, be it for a part of a clown costume for the child, a template for a piece of jewelry from metal or polymer clay or to make a papermaché vase.
I think that most then have a clear idea about the upper and bottom diameter and the height of the cone.

Additionally we know then that the template for the cone must be in a similar shape than one of those besides.
But how to get from the height and the diameters to the template that really makes the desired cone?
I recently pondered on this question and found math central.
There you can ask questions and check the answers to questions already put.
There are several answers to the topic ‘cone’ (simply enter cone’ into the search box) and I tried to compile from the answers a really simple instruction on how to construct cones.
It seems to be a little complicated when reading it first, but if you strictly follow the instructions, it isn’t hard. Admittedly most of us will need a calculator, because we will need later the square root of a value.
I interspersed some basic knowledge in between, because I had to re-collect tediously everything I have learned ages ago and I have completely forgotten ;-)
And I tagged the actual formulas with a  at the beginning.
Have fun with it!
 (Click picture to enlarge)
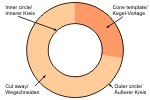
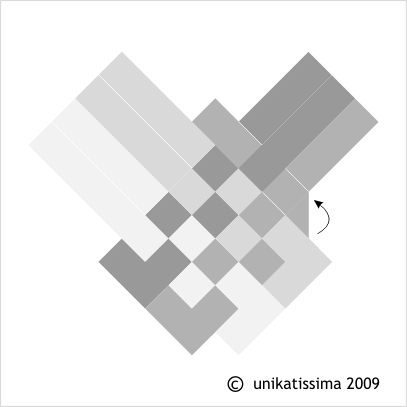
First of all: what does a cone template consists of?
On the picture on the left you see, that our template consists of an outer and an inner circle and (light orange) a piece that we have to cut away.
First we will fix the sizes of our circles and later how much we have to cut away.
To this end we first identify the diameters of both of our circles for our cone template.
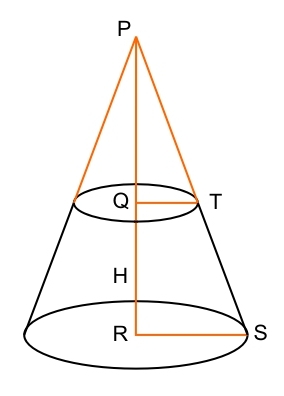
If you look at the diagram (I’ve been geared to a diagram of math central) you see, that both distances PT and PS equate the half of the diameters of our both circles from above.
(If you haven’t understand this, it doesn’t matter, simply go on.)
Therefore we will calculate PT and PS.
We will call the height H, the diameter at the top DiaT and the diameter at the bottom DiaB.
We need the desired radiuses for the formula.
That’s easy because the radius is exactly the half of the desired diameter.
Let’s call the radius at the top Rt and at the bottom Rb.
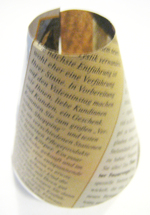
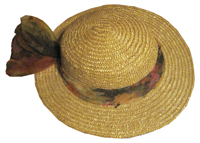
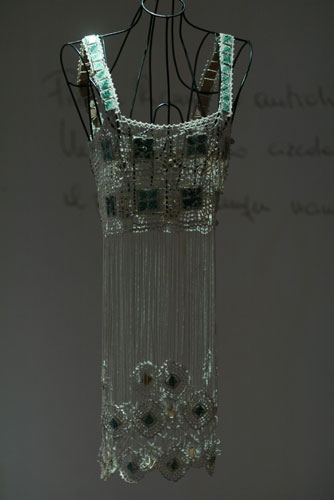
Let’s see a concrete example: our cone (that’s the one from the photo at the top) should have a height of 7cm, a diameter at the top of 3cm and a diameter at the bottom of 7cm.
Caution: All units must always be the same: they are all mm, or cm or m ;-)
H = QR = 7
DiaT = 3
DiaB = 7
Because a radius always equals the half of a diameter, we know additionally:
Rt = QT = 1,5
Rb = RS = 3,5
Now we need the distances PQ and PR that we must calculate (I found the formula in an answer of math central):
PQ = Rt * H / (Rb – Rt)
This is in our example PQ = 1,5 * 7 / (3,5 – 1,5) = 5,25
PR = PQ + H
This is in our example PR = 5,25 + 7 = 12,25
The formulas for PT and PS are as follows:
PT = sqrt(PQ2 + QT2) = sqrt((PQ * PQ) + (QT * QT))
PS = sqrt(PR2 + RS2) = sqrt((PR * PR) + (RS * RS))
Note: ‘sqrt’ means ‘square root’ (symbol: √).
Personally I don’t know how to extract a root (except for 9 perhaps ;-))), but every calculator provides this function and all computers have a calculator (somewhere!) ;-))
Let’s continue our example:
PT = sqrt((5,25 * 5,25) + (1,5 * 1,5)) = sqrt(27,5625 + 2,25) = sqrt(29,8125) = 5,5
PS = sqrt((12,25 * 12,25) + (3,5 * 3,5)) = sqrt(150,0625 + 12,25) = sqrt(162,3125) = 12,7
Note: In our example one decimal place is fully satisfying, and I’m rounding off up to 5 and up above 5.
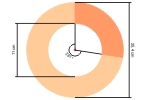
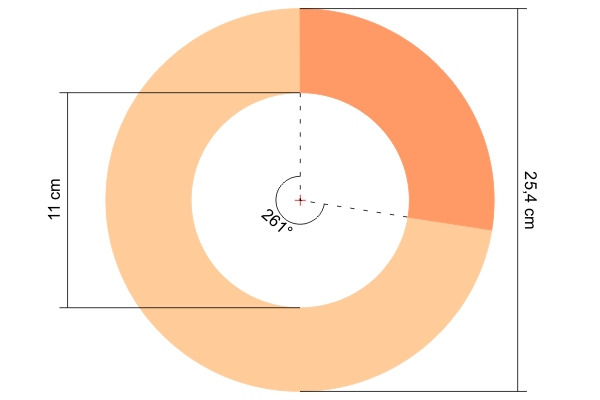
Well, now we know that our outer circle has a diameter of 2 * PS = 25,4 and our inner circle a diameter of 2 * PT = 11.
We calculated everything in cm, therefore we have now 25,4cm and 11cm.
Now we can go on finding out how much we must cut away from our ring.
Luckily we don’t have to think too much, because there’s a ready-made formula (that I also found at mathcentral):
We calculate the angel a which identifies the area that we don’t(!) need as follows:
a = 360 * (1 – ((2 * π * Rb) / (2 * π * PS)))
Note: π means ‘Pi’ and I’m using 3,14 although the number goes on forever.
For accuracy fanatics ;-): these are the first 100 decimal places of Pi: 3,14159 26535 89793 23846 26433 83279 50288 41971 69399 37510 58209 74944 59230 78164 06286 20899 86280 34825 34211 70679… ;-)
Let’s continue our calculation.
We thus calculate the angle a as follows:
a = 360 * (1 – ((2 * π * 3,5) / (2 * π * 12,7))) = 360 * (1 – (21,991 / 79,796)
= 360 * (1 – 0,276) = 360 * 0,724 = 260,64 which is approximately 261°
 (Click picture to enlarge)
Great!
And what do we do now with the calculated degrees?
We cut them away ;-)
 (Click picture to enlarge)
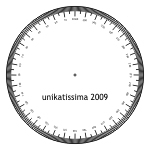
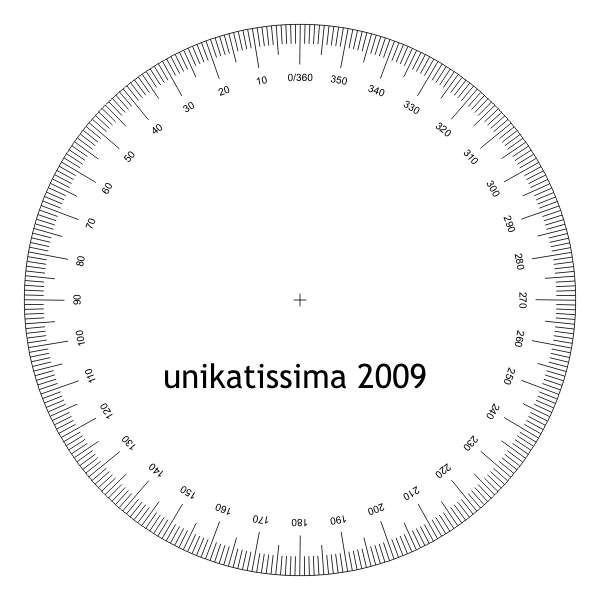
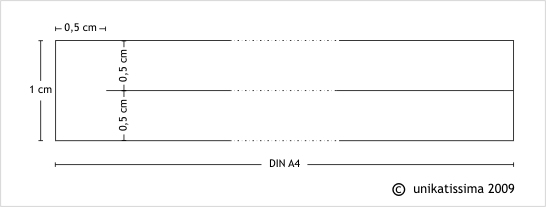
If you don’t have a protractor you can print and cut the degrees disk.
Put the disk exactly centered into the ring and draw straight lines with a ruler from the center to the 0/360° label and (in our example) from the center to the 261° label.
The lines look then like the dotted lines on the previous picture and mark the area we have to cut away.
 Note: I suggest to construct the cone template first with news paper or scrap paper.
To find the center you can then simply half fold the uncut circles twice (see the photo). Then it will be easy to place the protractor correctly.
Links:
At math central (English, French, Spanish):
List of already answered questions
Form to ask a question
Search form
Answer for the question with the subject: ‘Constructing a cone’
Answer for the question with the subject: ‘Pattern for a truncated cone’
At Wikipedia (German): The first 100 decimal places of Pi (Die ersten 100 Nachkommastellen von Pi)
At Wikipedia (English): The first 50 decimal places of Pi
Here at unikatissima:
Entries with the tag ‘fimo’
Entries with the tag ‘paper mache’

 I brought water to the boil in my craft pan (which I don’t use for food preparation anymore!).
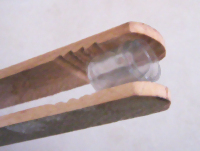 I hold the rolled ‘bead’ with my craft wooden pliers (also not used for food preparation anymore) into the simmering water and in seconds the bead was finished.
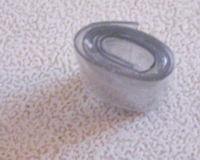 Because it always wanted to uncoil I hold it quite firm with my wooden pliers and the bead became a little flat.
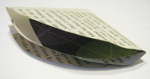
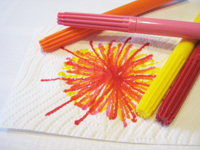 First I painted on a sheet of toilet paper with some markers.
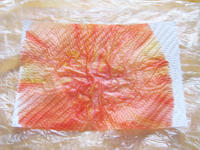 I dropped water on my ‘painting’, but it was a little too much water and everything swam.
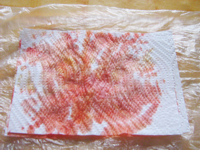 Therefore I put another sheet of toilet paper onto the first, the water and the dye dispersed on both.
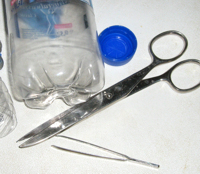
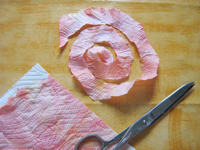 I cut my papers by guess and by gosh, that is to say without a pre-sketched spiral and my scissors were quite blunt.
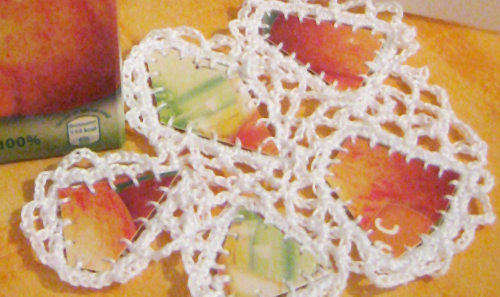
 I didn’t arrange anything and on this photo I’m checking whether the piece fits at this place.
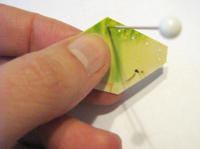 Subsequently prick holes into the cardboard. Try to get a regular spacing between the holes.
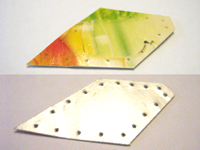 That’s how my snippet looked like after the piercing from both sides.
 Afterwards I took my pierced snippet and surrounded it using a tapestry needle with
  The surrounding is finished.
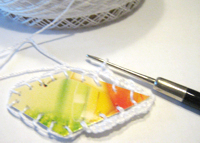 Afterwards I crocheted
 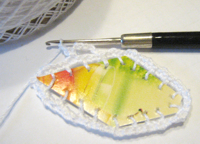 I then worked
 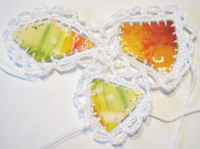 I joined the
 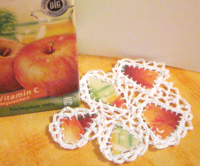 That’s what I’ve done until now.
 For this photo I thought even further (which wasn’t easy ;-)) and spread on some confetti from the hole puncher.
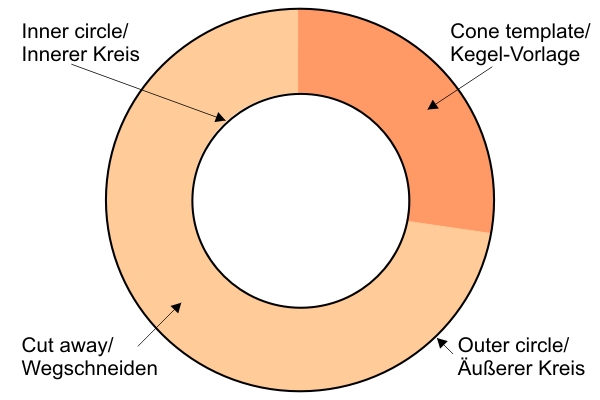
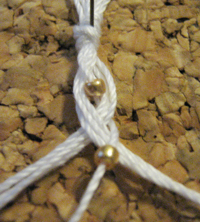 Knot seven threads together and fix somewhere.
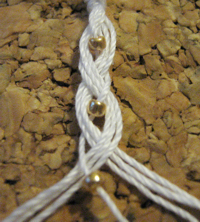 Braid the three strands just like you’d do with your hair.


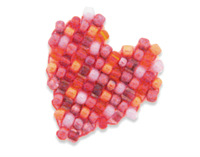
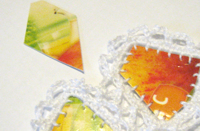
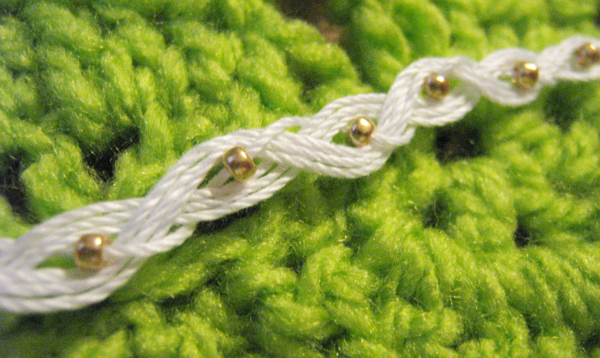
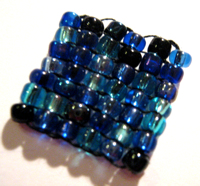 And here you can see easily where the name ‘square stitch’ comes from ;-))