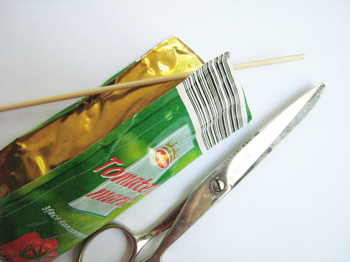
After I presented Jewelry for the Garden some time ago and yesterday the Tomato Tube Leaves I want to present today three more garden decorations from joghurt cup lids and acrylic yarn.
Instruction for the 1. decoration, the 2. decoration, the 3. decoration
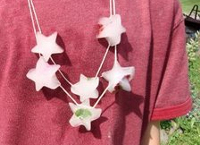
1. decoration
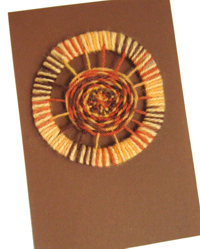 As you can see the ornament can be used for a greeting card as well ;-)
I used a transparent joghurt cup lid (from a 500g joghurt cup) and variegated acrylic yarn.
Additionally you will need a darning needle.
 Cut a broad rim from the lid and prick 16 holes.
Then weave a spiderweb through the pre-pricked holes.
You can click the thumbnail of the template to download the enlarged template. The template is about 10 cm (appr. 4 inches), if your lid size is different you will possibly have to adapt the print size.

Weave the spiderweb: always over and under the threads, as long as you like.

Subsequently I complemented the yarn with another with a matching colour and wrapped both around the broad plastic rim.
The crochet hook made the work sometimes easier but isn’t necessary.
I glued the ornament onto a card but you can attach it to a wooden stick, e.g. a kebab skewer, too, and put into a flower box or a flower bed.
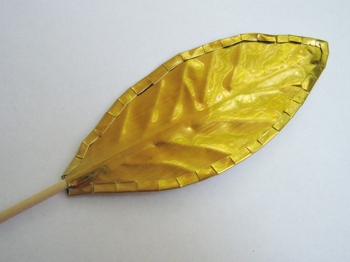
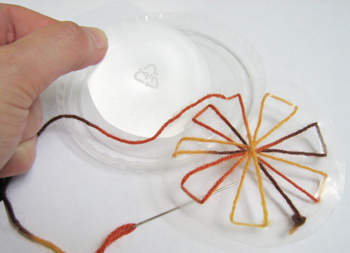
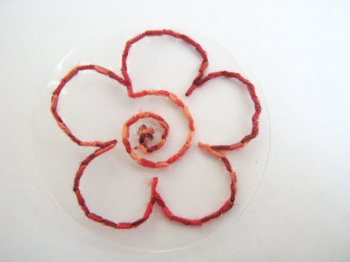
2. decoration
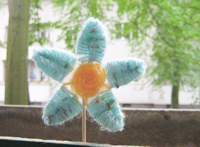 I made this ornament with a lid from the same joghurt and with acrylic yarn, also.
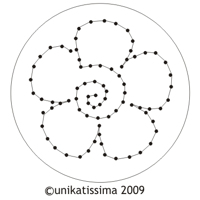
 Cut your joghurt cup lid following this template (click the thumbnail of the template to download the enlarged template. The template is about 10 cm (appr. 4 inches), if your lid size is different you will possibly have to adapt the print size.)
You must also cut the black lines in the petals, but they must not reach the edge.
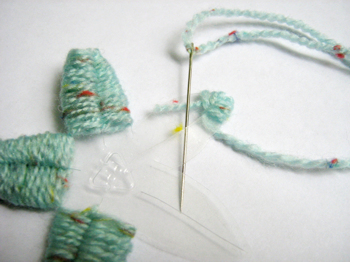
Begin ‘in’ a petal and weave both wings of the petal in eights until they are completely covered in yarn (from the center to the left and back to the center, from the center to the right and back to the center, repeat).

Then prick a hole in the center of the flower and weave a net (in a contrasting colour) (see photo).
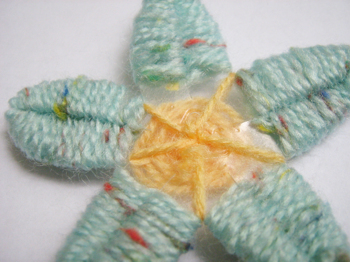
Weave the yarn around the threads, always over and under the thread.
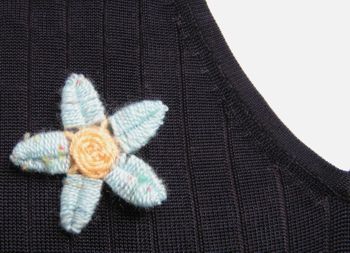
If you use the ornament as a pin or for a greeting card it is enough to weave only one side of the flower, otherwise you must work on both sides.
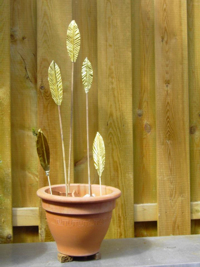
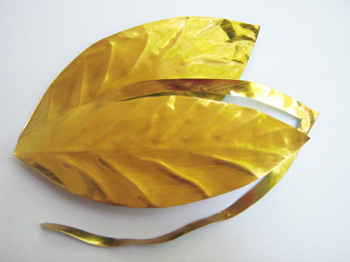
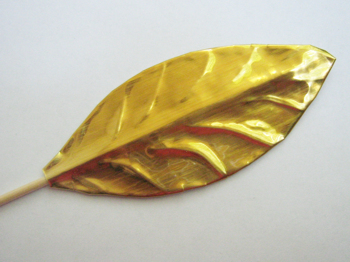
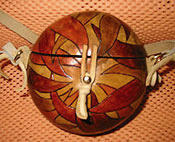
3. decoration
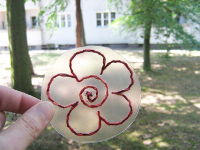 Of course this ornament has been made with a lid from the same joghurt and with acrylic yarn ;-)
This time a darning needle is absolutely necessary.
 Cut and prick your joghurt cup lid following this template (click the thumbnail of the template to download the enlarged template. The template is about 10 cm (appr. 4 inches), if your lid size is different you will possibly have to adapt the print size.)
Simply embroider the pattern: always in and out and if you like, back again.
Links:
Here at unikatissima:
Jewelry for the Garden
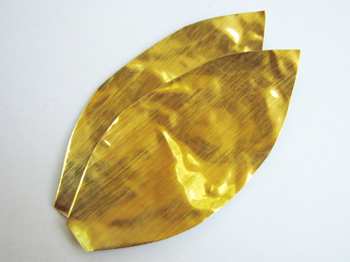
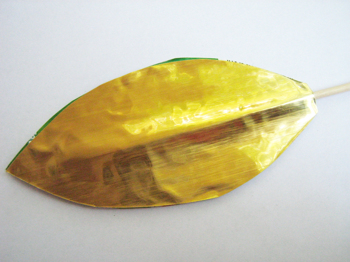
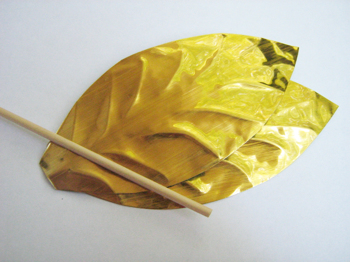
Tomato Tube Leaves
Here on this page:
Instruction for the 1. decoration
Instruction for the 2. decoration
Instruction for the 3. decoration