(Click photo to enlarge)
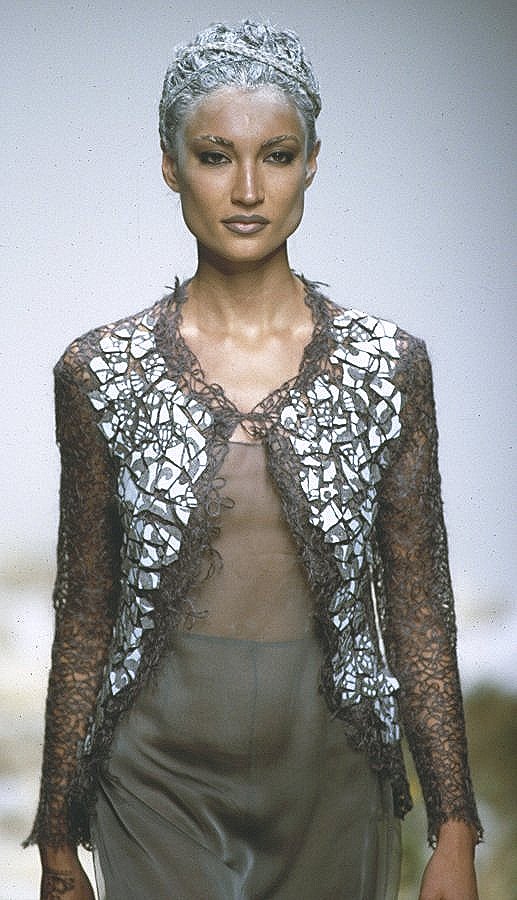
Once I’ve seen a fashion photo where I’ve been really impressed by the garment.
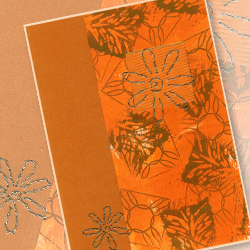
Recently, when I drank my apple juice, I thought: ‘Yes, that’s the right material in the right colour for this!’
Therefore I figured out how to make it.
And that’s what you do:
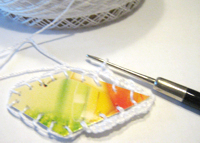
First cut the (washed! ;-)) beverage carton in pieces and, if you like, you can arrange the pieces in a pattern that suits you best (best done on a stiff pad, then you can carry it away carefully, if necessary).
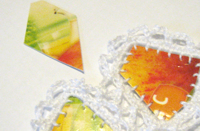
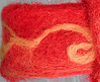
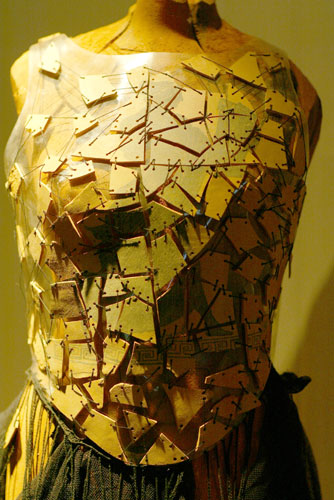
I cut my pieces just as I liked to (there is another garment), but regular shapes, square e.g. are not bad either. They were used in yet another garment (here a detail photo).
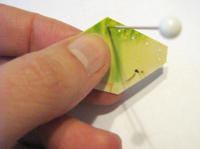
 I didn’t arrange anything and on this photo I’m checking whether the piece fits at this place.
 Subsequently prick holes into the cardboard. Try to get a regular spacing between the holes.
Please note that the holes may not be placed too closely to the edge!
I had to throw away some of my snippets because the thread ripped the hole.
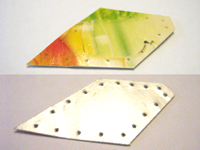 That’s how my snippet looked like after the piercing from both sides.
The cardboard has a nice silver coloured internal coating which makes also the backside look good.
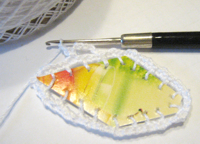
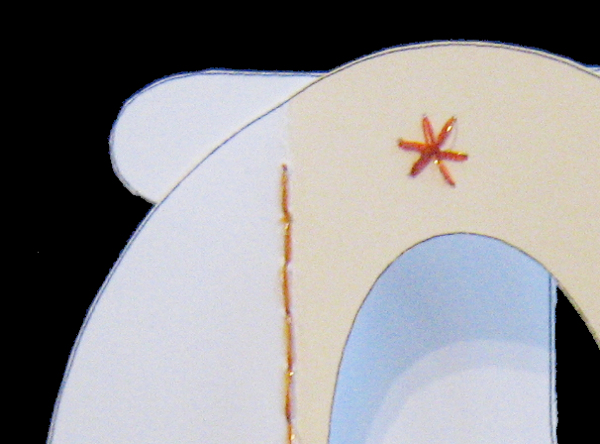
 Afterwards I took my pierced snippet and surrounded it using a tapestry needle with button hole stitches with cotton thread.
 The surrounding is finished.
I worked quite loosely to 1. get on easier with the crochet (see next step) and 2. keep my snippet in shape.
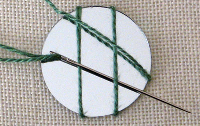
 Afterwards I crocheted
 single crochet stitches single crochet stitches around the surrounding thread with the same thread.
Mostly I crocheted 2 single crochet stitches, sometimes even 3.
At the corners I crocheted 1 to 2 chain stitches chain stitches between the single crochets.
 I then worked
 chains chains of about 5 stitches into the single crochets.
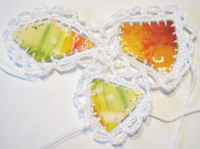 I joined the
 chains chains with the chains of the already finished item immediately when crocheting.
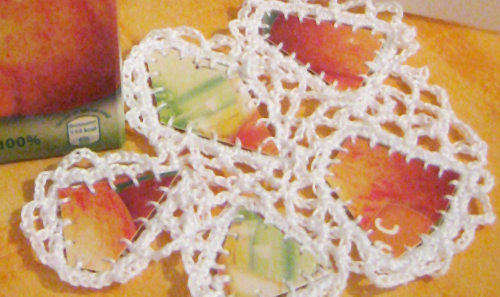
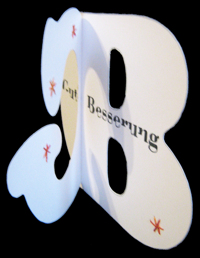
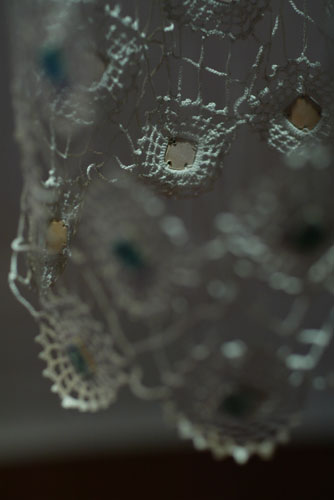
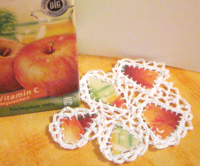 That’s what I’ve done until now.
I can imagine making a sommer vest from it, a belt or the top flap of a cute purse.
But I haven’t decided yet ;-))
Links:
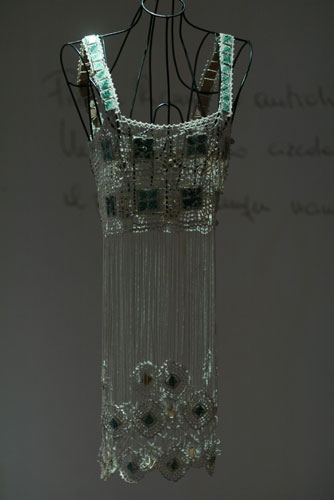
My inspiration at Marella Ferrera Alta Moda:
Fall/Winter 98/99 – L’Isola dei Ciclopi
Fall/Winter 03/04 – Isola di Terracotta
Fall/Winter 03/04 – Isola di Ceramica
Fall/Winter 03/04 – Isola di Ceramica – Detail
Embroidery stitches:
Button hole stitch instruction (English)
Button hole stitch instruction (German)
Crochet stitches:
Chain (English)
The original site doesn’t exist any more and is now available through webarchive:
Chain (English)
Chain (German)
Single crochet (English)
The original site doesn’t exist any more and is now available through webarchive:
Single crochet (English)
Single crochet (German)
Here at unikatissima:
Crochet Joining
Clothes From Crocheted Medaillons


 Select appropriate paper sheets.
 Roll and fold the paper sheets to paper strips of equal width (see
  Coil one paper strip firm around the glass and fix with tape.
 Tape the hoop very well.
 Slip the hoop over the glass again and coil the second strip of paper very firmly around the first hoop, tape very well, too.
 These are both hoops, one can be slipped exactly over the other.
 That’s the way everything looks from the backside.
